How to Set Up a Home CCTV System Without Professional Help
Installing a home CCTV system doesn’t require expensive technicians—with the right guidance, you can set up a fully functional surveillance system yourself for under ₹10,000. According to a 2023 NCRB report, homes with visible security cameras are 65% less likely to be targeted by burglars.
This step-by-step guide covers budget-friendly equipment choices, optimal camera placements, and troubleshooting tips to secure your home without professional help.
Why Install a DIY CCTV System?
✔ Cost Savings: Avoid installation fees (typically ₹5,000–₹15,000).
✔ Customization: Choose camera types/locations based on your needs.
✔ Remote Monitoring: Check footage from your phone anytime.
Delhi homeowner Rohan S. shares: "I set up 4 cameras for ₹8,500—now I get alerts if someone approaches my gate."
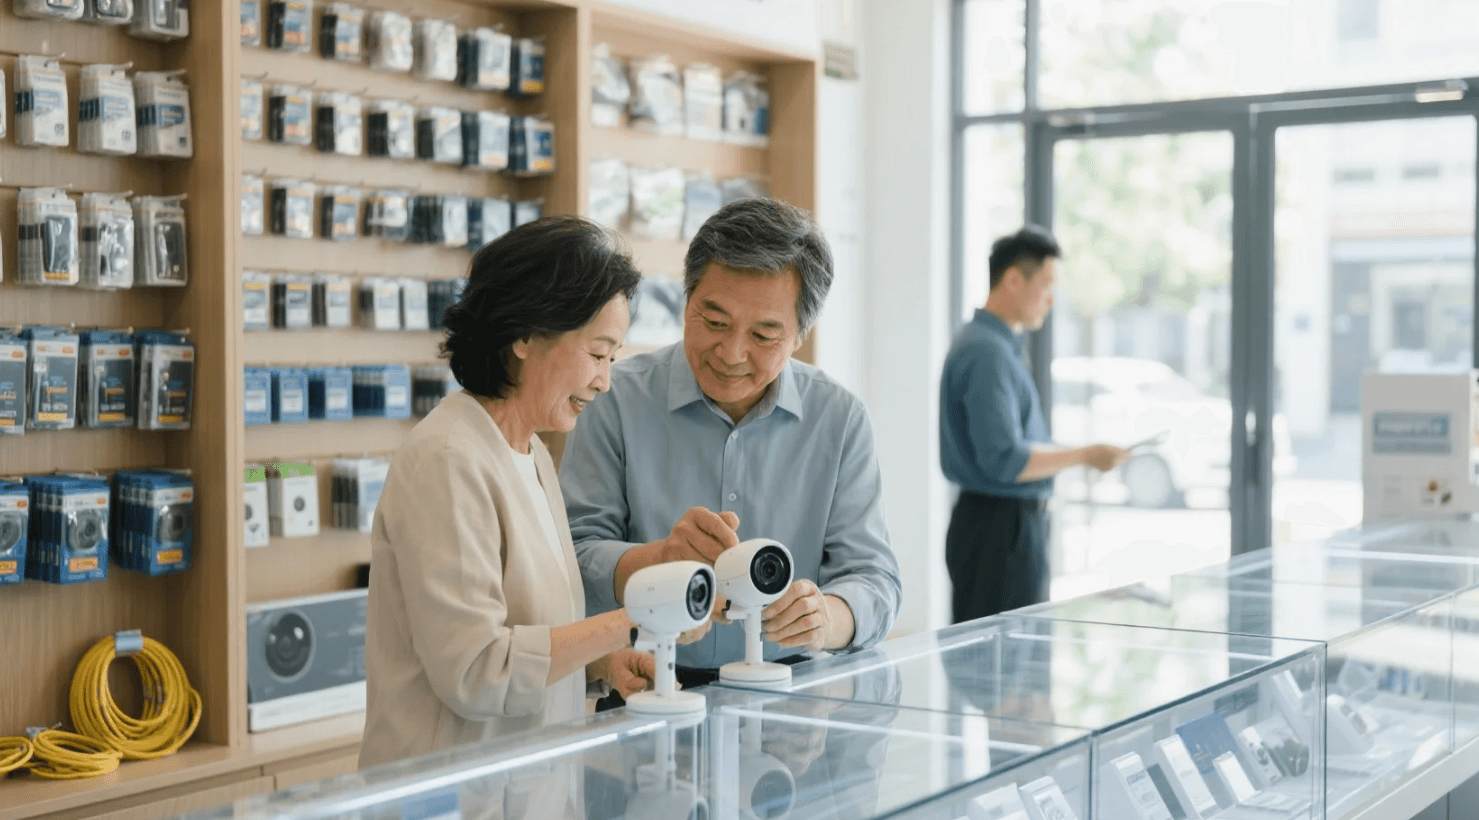
Step 1: Choose the Right Equipment
1. Camera Types (Budget: ₹1,500–₹5,000 per camera)
| Type | Best For | Price Range |
| Wi-Fi IP Cameras | Indoor/Outdoor | ₹1,500–₹3,500 |
| PoE Cameras | Long-distance wiring | ₹2,500–₹5,000 |
| Battery Cameras | Rentals (no wiring) | ₹3,000–₹6,000 |
Top Picks:
- Xiaomi Mi 360° (₹2,999): 1080p, night vision, Alexa-compatible.
- TP-Link Tapo C200 (₹2,499): Pan/tilt, 2-way audio.
2. Storage Options
- MicroSD Card (₹500–₹2,000): Stores 7–30 days of footage.
- Cloud Storage (₹100–₹300/month): Automatic backups.
3. Additional Tools
✔ Drill & Screws (for mounting).
✔ Ethernet cables (for PoE cameras).
✔ Waterproof casing (for outdoor cameras).
Step 2: Plan Camera Placement
Critical Areas to Cover
- Main Entrance (Face-level, covering doorbell area).
- Backyard/Gate (Wide-angle view).
- Garage/Driveway (License plate visibility).
- Indoor Common Areas (Living room, valuables storage).
Pro Tip: "Place cameras at 9-10 feet height to avoid tampering."
Avoid These Mistakes
❌ Pointing cameras at neighbors’ property (privacy issues).
❌ Placing in direct sunlight (causes glare).
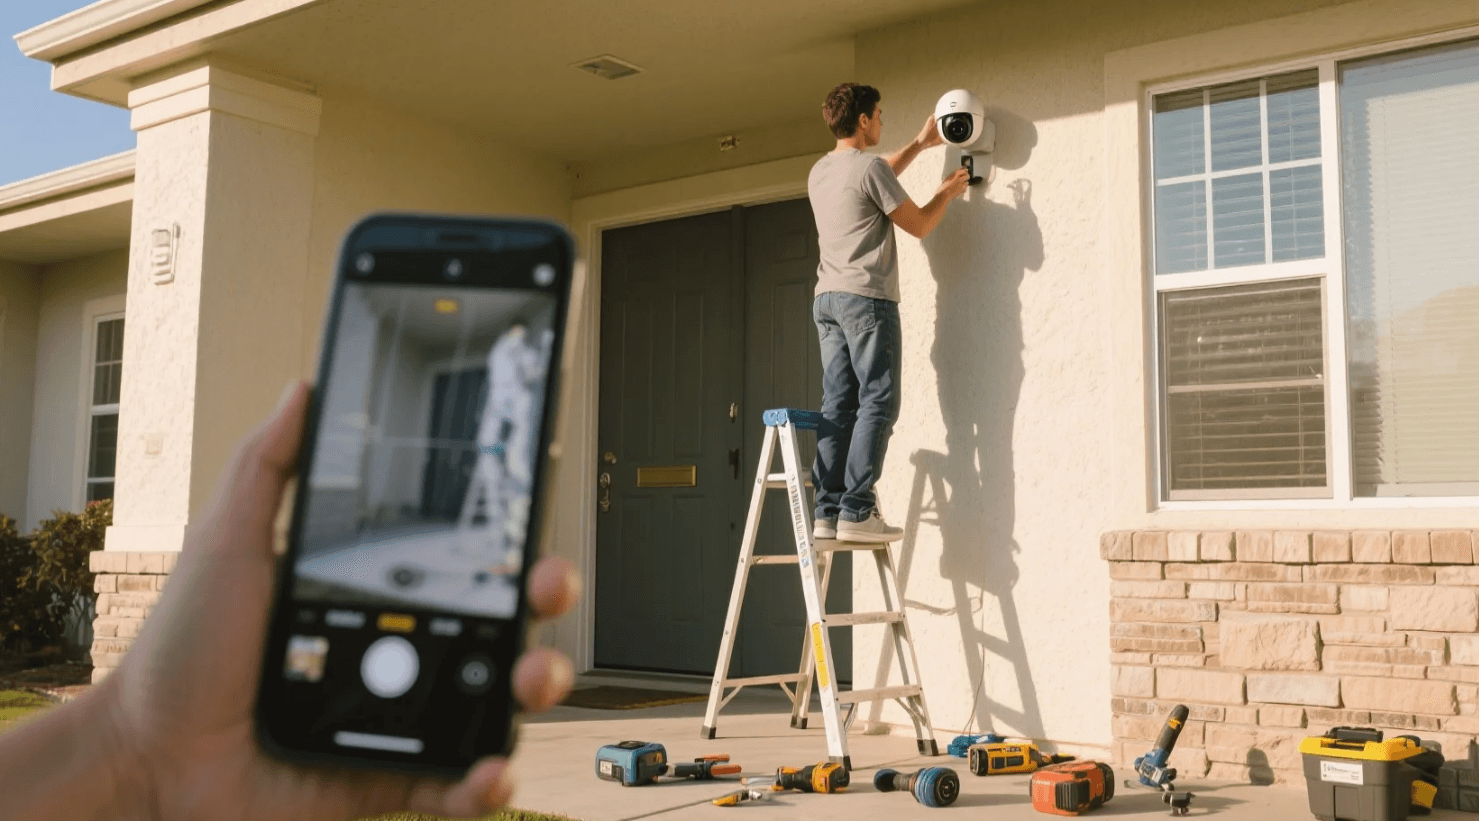
Step 3: Install & Configure Cameras
For Wi-Fi Cameras:
- Mount the camera using screws/adhesive.
- Connect to power (plug into nearby socket).
- Download the brand’s app (e.g., Mi Home, Tapo).
- Sync via QR code and test the feed.
For PoE Cameras:
- Run Ethernet cables from router to camera locations.
- Use a PoE injector (if router doesn’t support PoE).
- Configure via NVR/DVR or manufacturer’s software.
Step 4: Set Up Remote Viewing & Alerts
1. Enable Motion Alerts
- Adjust sensitivity to avoid false alarms (e.g., from pets).
2. Schedule Recording
- Continuous: For high-security zones.
- Motion-activated: Saves storage space.
3. Share Access
- Grant limited access to family members (no admin controls).
Step 5: Test & Troubleshoot
Common Issues & Fixes
🔴 No Video Feed → Check power/Wi-Fi connection.
🔴 Poor Night Vision → Clean camera lens, avoid IR blockers.
🔴 Delayed Alerts → Upgrade internet speed (min. 5 Mbps upload).
Budget-Friendly DIY Setup Examples
1. Basic 2-Camera System (₹6,000)
- Cameras: 2 x TP-Link Tapo C100 (₹2,500 each).
- Storage: 128GB SD card (₹1,000).
2. Advanced 4-Camera System (₹15,000)
- Cameras: 4 x Xiaomi Mi 360° (₹3,000 each).
- Extras: 1TB HDD for NVR (₹4,000).
Legal Considerations
✔ Inform household members/visitors about cameras.
✔ Avoid recording private areas (bathrooms, bedrooms).
Mumbai lawyer Anjali P. advises: "Post a ‘CCTV in Use’ sign to comply with privacy laws."
Final Checklist
✓ Test all cameras before final mounting.
✓ Secure Wi-Fi with a strong password.
✓ Regularly clean lenses for clear footage.
Key Takeaway: "A ₹10,000 DIY system can be as effective as a ₹30,000 professional setup—just plan carefully!"
Sources:
- NCRB Crime Prevention Report (2023)
- Xiaomi/TP-Link Product Manuals
- Indian Privacy Law Guidelines
- Home Security Surveys by TechRadar India
Andrew
|
2025.04.30